15 Easy Braided Hairstyles That’ll Make You Feel Like a Braiding Genius

You don’t need eight hands or a cosmetology license. You just need this list.
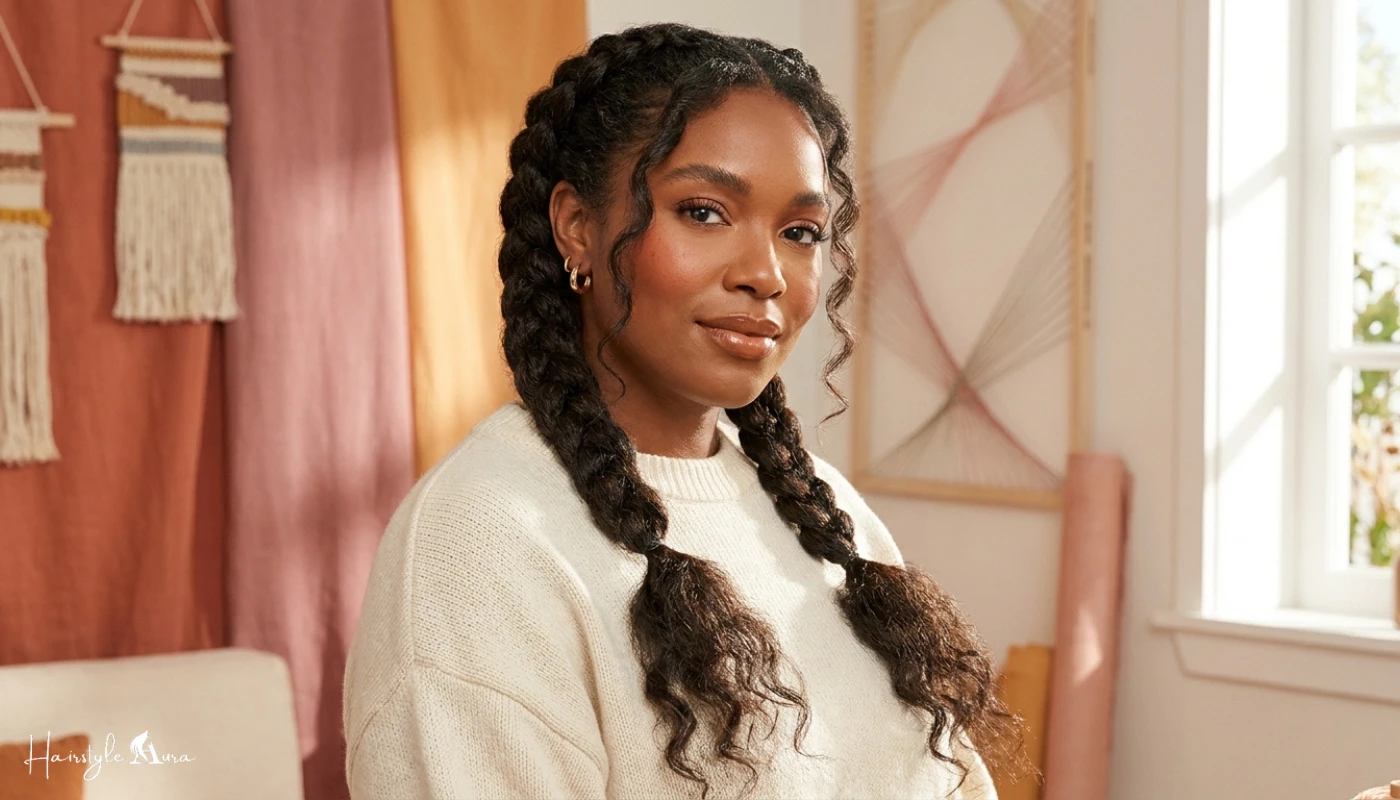
I need to let you in on a little secret from behind the chair: most people think braiding is way harder than it actually is. They watch a fifteen-second video of someone’s hands moving at lightning speed and immediately decide, “That’s not for me.” And I get it. Braiding CAN look intimidating. But here’s the truth: once you understand the basic mechanics, braiding is just repetition. Cross, cross, cross. That’s genuinely most of it.
The other thing I want you to know is that braids do not need to be perfect to look amazing. Some of the prettiest braided styles I’ve ever done had little bumps, slightly uneven sections, and pieces that weren’t quite symmetrical. Braids are forgiving. They’re meant to look a little lived-in, a little textured, a little imperfect. That’s what makes them beautiful instead of stiff.
So if you’ve been intimidated by braiding, this is your permission slip to just try it. Here are 15 easy braided hairstyles, starting with the basics and building up, that will have you braiding with confidence by the time you finish this list.
1. Simple Three-Strand Braid
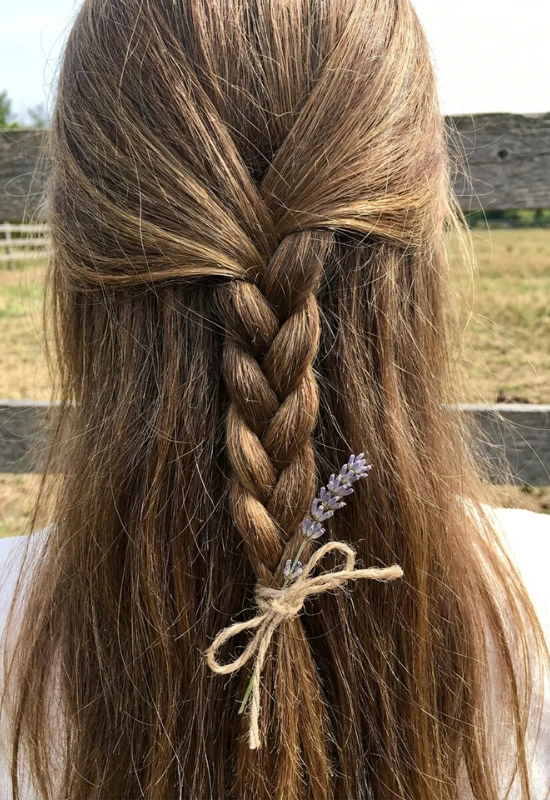
Every braider, professional or beginner, starts here, and there’s no shame in that whatsoever. The classic three-strand braid is the foundation of literally every other braid on this list. Split your hair into three equal sections and cross the outer strands over the middle one, alternating sides, all the way down. Cross, cross, cross. That’s it. That’s the whole braid.
The key to a good three-strand braid isn’t speed, it’s consistency. Keep your sections even and your tension steady, and you’ll get a smooth, uniform braid every time. Once this movement becomes muscle memory (and it will, faster than you think), every other braid on this list becomes so much easier because they’re all built on this exact same foundation.
2. Easy Fishtail Braid
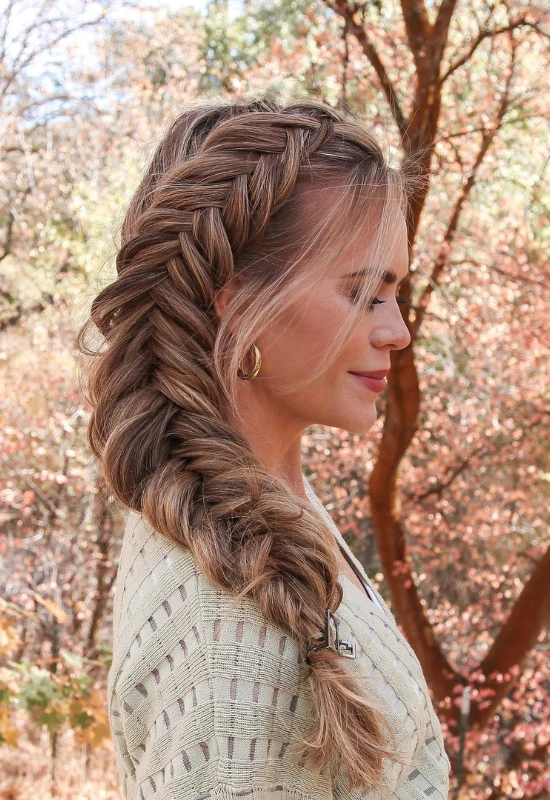
The fishtail looks incredibly intricate, which is exactly why people assume it’s difficult. It’s not. I promise. Instead of three sections, you only work with two. Take a small piece from the outer edge of one section and cross it over to join the other section. Then do the same thing from the other side. Repeat, alternating sides, all the way down.
The trick that makes fishtails easy is keeping your pieces SMALL and consistent. Thin, even sections create that classic woven, fish-scale texture. Thick, uneven sections just look like a messy braid. Take your time at first. Once you find the rhythm, this braid moves surprisingly fast, and it looks far more impressive than the effort it actually requires.
3. Quick Dutch Braid Pigtails
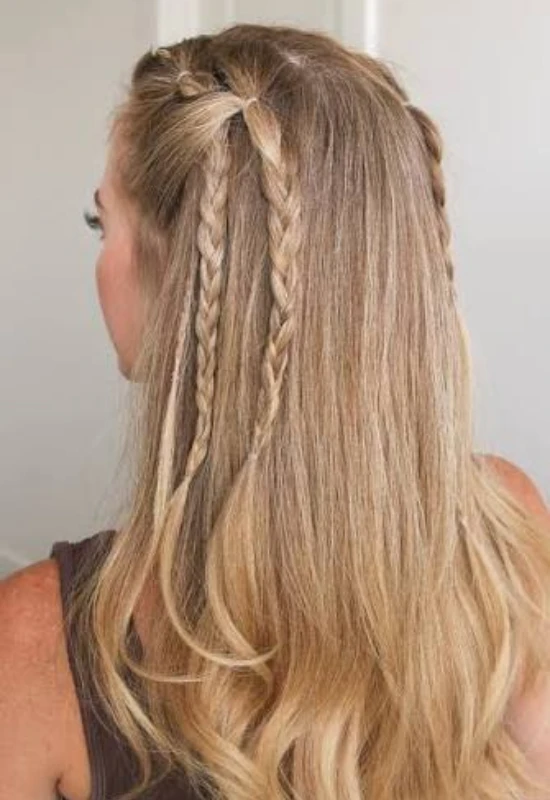
Dutch braids (sometimes called inside-out braids) are just a regular three-strand braid, except instead of crossing strands OVER the middle, you cross them UNDER. That small change creates a raised, dimensional look instead of a flat one. Split your hair into two pigtail sections first, then Dutch braid each side down.
I recommend pigtails specifically for beginners learning Dutch braids because working with smaller sections is so much more manageable than tackling a single braid across your whole head. Once you’ve got the hang of two small braids, moving to a single Dutch braid feels like a breeze. Plus, pigtail braids are just objectively adorable on their own.
4. Loose Side Braid
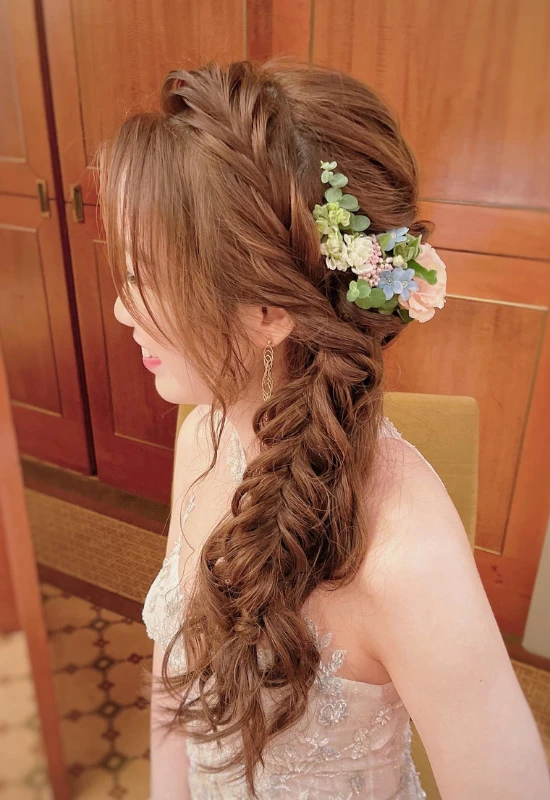
The loose side braid might be the easiest “put together” hairstyle in existence, and it works with almost zero technical skill required. Gather all your hair over one shoulder, do a basic three-strand braid, and secure the end. That’s the entire tutorial. The magic happens afterward, when you gently tug at the braid to loosen and widen each section for that soft, romantic, effortless texture.
This is my go-to recommendation for anyone who wants to look like they put in effort without actually putting in much effort at all. It works on freshly washed hair, second-day hair, third-day hair, honestly the messier your hair is beforehand, the better this braid tends to look. Low stakes, high reward.
5. Braided Half-Up Half-Down Style
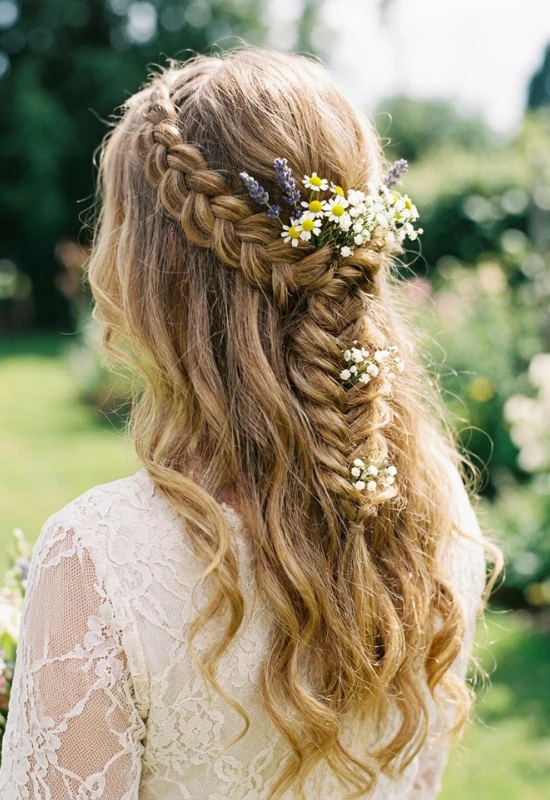
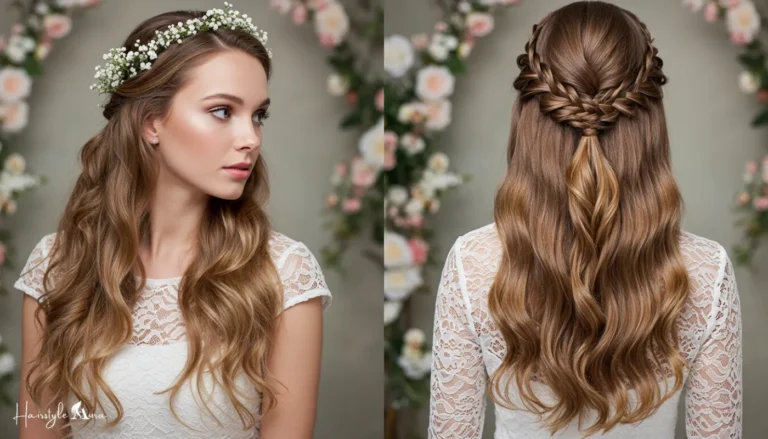
This one combines two easy techniques into one adorable finished look. Take a section from each side near your temples, do a small three-strand or Dutch braid, and pin or tie them together at the back of your head while the rest of your hair flows down naturally. It’s simple, it’s quick, and it instantly elevates a basic “hair down” day into something that looks intentional.
Because the braids are small, this is a great confidence-building style if you’re still getting comfortable with the basic braiding motion. You’re only working with a little bit of hair at a time, which makes it much more forgiving than braiding your entire head. Small braids, big payoff.
6. Milkmaid Braid Crown
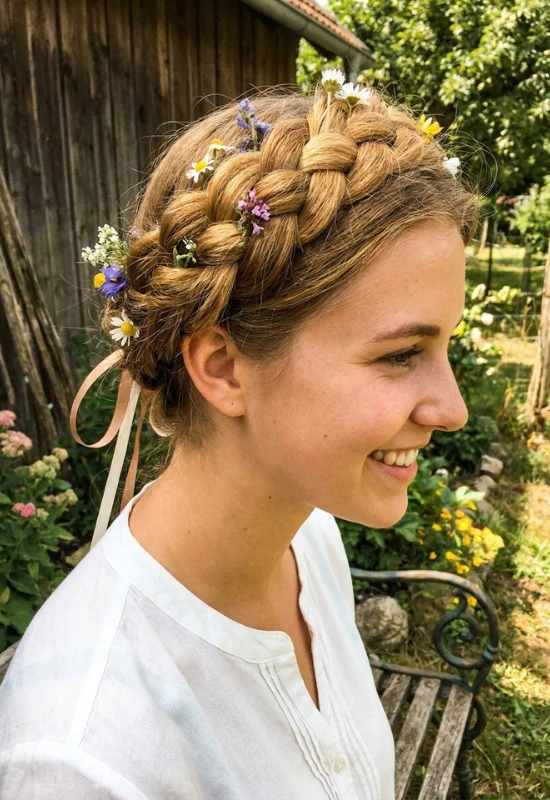
The milkmaid braid looks like it belongs in a fairy tale, but the technique itself is genuinely simple. Split your hair into two sections and braid each one into a basic three-strand braid. Then cross the braids over the top of your head and pin them in place. Front braid goes to the back, back braid comes to the front, creating that gorgeous woven crown effect.
I love recommending this style to beginners because it uses the exact braid you already learned in step one, just applied twice and arranged differently. There’s no new skill required, only a new way of positioning something you already know how to do. That’s the secret to a lot of “advanced-looking” hairstyles, honestly. Same building blocks, different arrangement.
7. Waterfall Braid
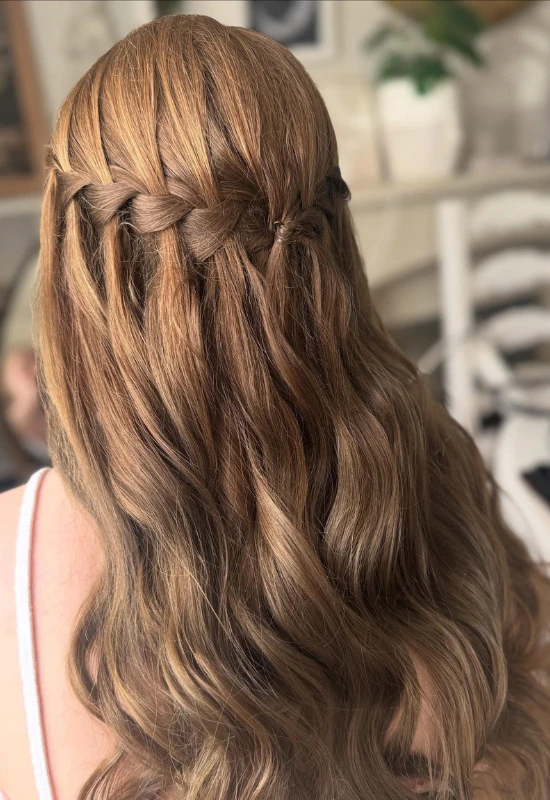
The waterfall braid has a reputation for being tricky, but once you understand the pattern, it’s really just a modified three-strand braid with one extra step. As you braid, instead of incorporating the bottom strand each time, you drop it and let it fall, then pick up a new piece of hair from the top to replace it. The dropped pieces create that gorgeous cascading effect down your hair.
Practice this one slowly at first. Your hands need a moment to learn the new pattern of “drop and replace” instead of just crossing straight through. Once it clicks (and it will click, usually faster than people expect), you’ll have a genuinely showstopping braid that looks far more advanced than the actual effort it takes.
8. Boxer Braids for Beginners
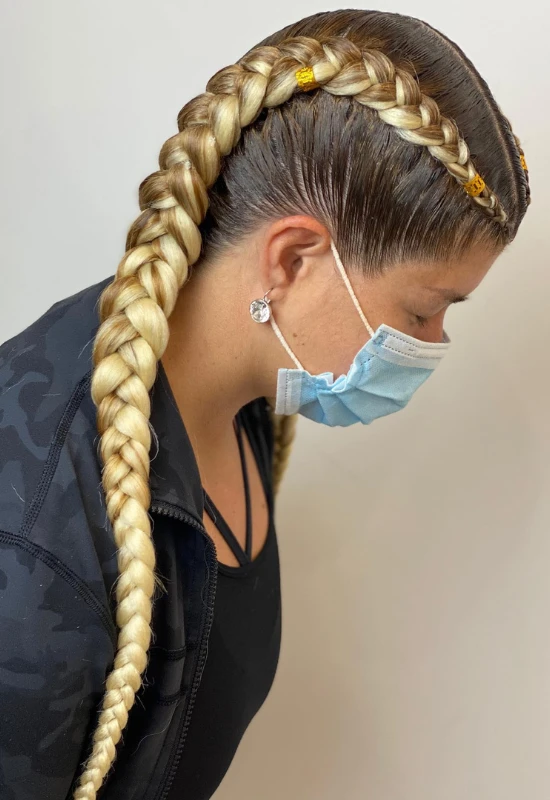
Boxer braids are just two Dutch braids running from your front hairline to the nape of your neck, secured into ponytails or left to blend into the rest of your hair. They look athletic, edgy, and put-together all at once, and the technique is simply Dutch braiding (which you already practiced in the pigtail style) applied along your part instead of down a ponytail.
The beginner trick here is starting with damp or slightly textured hair, since it’s grippier and easier to control than freshly washed, silky-smooth hair. Section your hair down the middle first so you have a clear guide, then braid each side following your natural hairline. Symmetry isn’t required for this to look good. Slightly uneven boxer braids still look incredible.
9. Rope Braid Ponytail
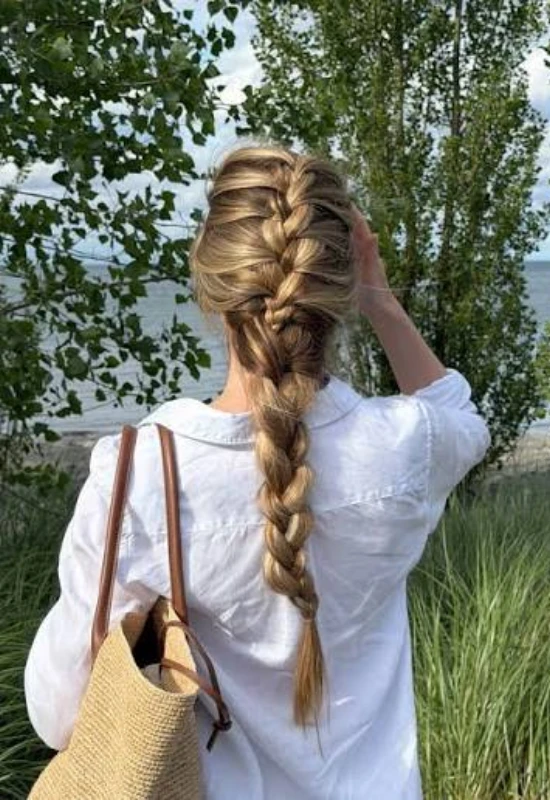
If you can twist, you can rope braid, and that’s genuinely all there is to it. Split a ponytail into two sections, twist each section in the same direction individually, then twist the two sections together in the OPPOSITE direction. The tension between the two twisting directions is what locks the braid in place and creates that gorgeous, rope-like texture.
This is one of the fastest braids on this entire list once you understand the two-direction twist concept. No crossing strands over and under repeatedly, just twist, twist, and combine. It’s perfect for anyone who finds traditional braiding a little fiddly but still wants that braided texture and visual interest.
10. Braided Bun Updo
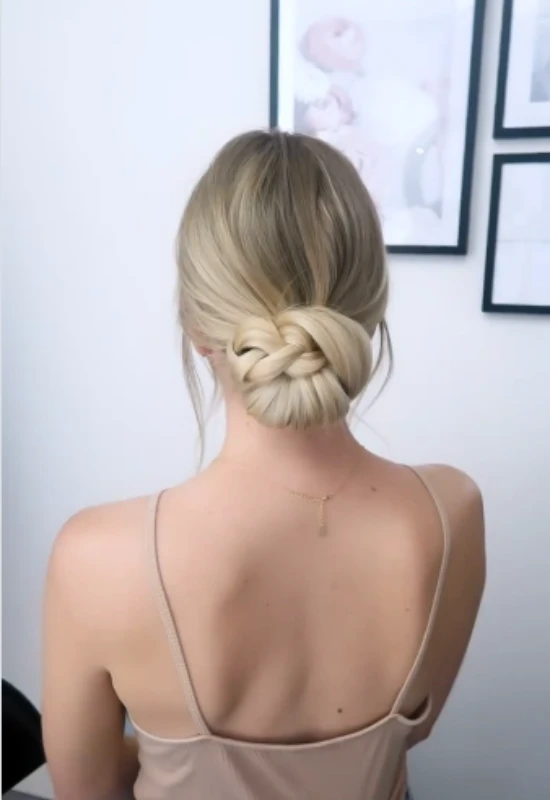
This is proof that braiding and updos don’t have to be two separate skills. Do a simple three-strand or Dutch braid down the length of your hair (or a ponytail), then coil the finished braid into a bun and pin it in place. You’re combining a braid you already know how to do with a bun, which most people can figure out through pure trial and error.
The braid adds texture and visual interest to what would otherwise be a plain bun, making the whole thing look far more intentional and polished. This works beautifully for both casual days and dressier occasions, and it’s an especially great option once your braid has loosened slightly throughout the day and needs a second styling life.
11. Five-Minute Fishbone Braid
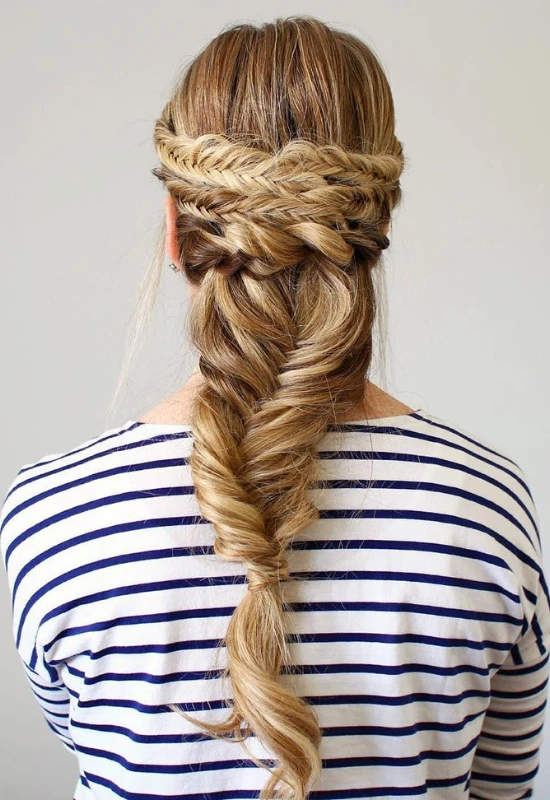
The fishbone braid (also called a feather braid) is technically a variation of the fishtail, but with a small twist that speeds up the process significantly. Instead of taking one thin piece from each side, you take slightly larger sections and add a subtle twist to each one before crossing it over. This small change makes the braid grow faster while still creating that same beautiful, textured, fish-scale look.
I recommend this version once you’ve gotten comfortable with the standard fishtail and want something a little quicker for busy mornings. The technique feels almost identical, but the larger sections mean fewer total crossovers, which translates directly into less time spent braiding and more time doing literally anything else with your morning.
12. Double Dutch Braids
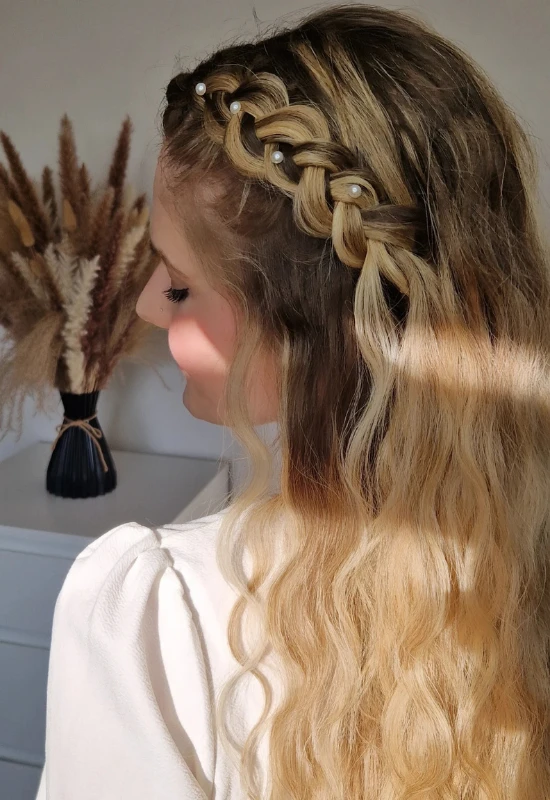
Two Dutch braids running down the back of your head (rather than into pigtails) create a bold, symmetrical, incredibly cute look that works for festivals, workouts, or just an ordinary day when you want your hair fully secured. Section your hair down the middle, Dutch braid each side following the curve of your head, and secure the ends together or separately.
This is essentially the pigtail version from earlier, just braided closer to the scalp and combined at the bottom instead of separated. Once you’ve practiced sectioning and Dutch braiding on pigtails, moving to this style is a natural next step. The technique doesn’t change. The placement just gets a little more advanced.
13. Braided Headband Style
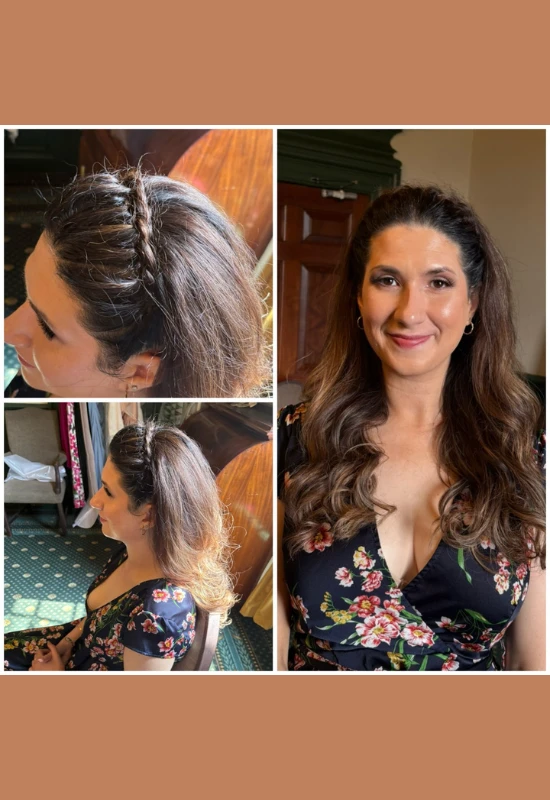
This is the ultimate “braiding without really braiding your whole head” hairstyle. Take a section of hair from one side, near your part, and braid it (basic three-strand works perfectly) across your head like a headband, pinning it into place near your opposite ear. The rest of your hair stays down and untouched.
I love recommending this to true beginners because you’re only braiding a small, manageable section, which makes the whole process low-stakes and low-pressure. It also instantly transforms a regular “hair down” day into something that looks styled and thoughtful, all from one small braid and a couple of bobby pins.
14. Chunky Three-Strand Pigtail Braids
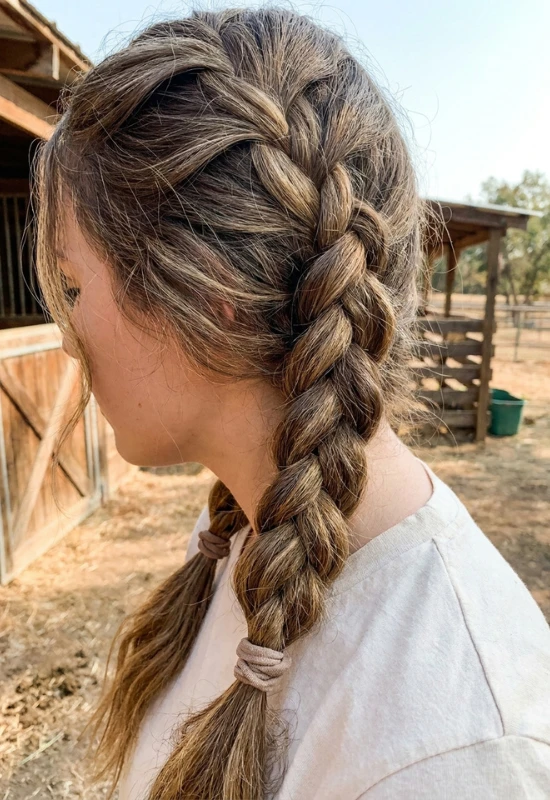
Sometimes the easiest path to a cute braided look is just going bigger. Chunky three-strand pigtail braids use the exact same basic technique from the very first style on this list, just with larger, thicker sections. Bigger sections mean fewer crossovers, which means the braid comes together faster and looks bold, playful, and effortlessly cute.
This is a genuinely great confidence-builder because the larger sections are easier to see and control while you’re learning, and any small imperfections get absorbed into the chunkier texture instead of standing out. It’s forgiving, it’s fast, and it looks adorable whether you’re heading to a festival or just running weekend errands.
15. Twisted Braid Ponytail
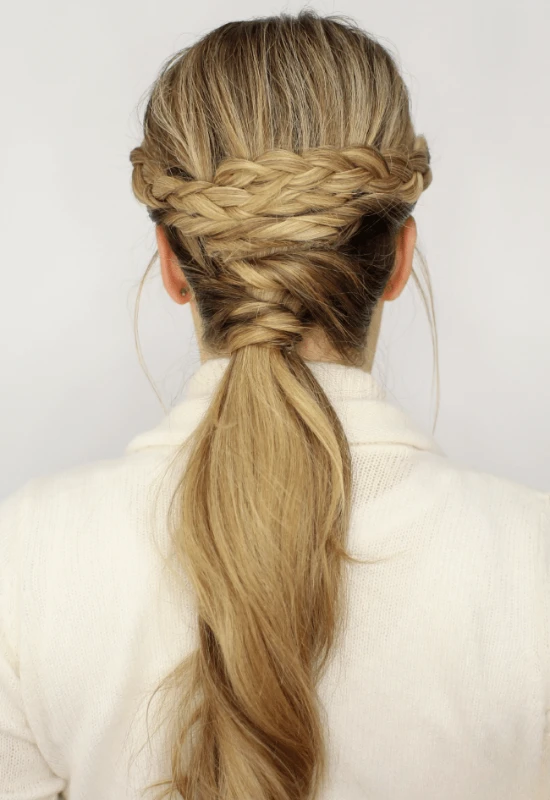
We’re closing with a hybrid style that combines two simple techniques into one polished finish. Gather your hair into a ponytail, then braid the tail using a basic three-strand braid. Once secured, gently pull small sections of the braid outward to loosen and widen it, creating a fuller, more textured, twisted appearance without any additional technical skill required.
This is the perfect “graduation” style once you’ve mastered the basic braid, because it takes something simple and makes it look intentionally elevated through styling rather than technique. Loosen generously for a romantic, undone look, or keep it tight and neat for something more polished. Either way, you built this entire style from the very first skill you learned.
You’re a Braider Now, Whether You Believe It or Not
Here’s what I want you to take away from this list: braiding is a skill, and like every skill, it gets easier with repetition, not perfection. Nobody’s first braid looks like their hundredth braid, and that’s completely fine. Give yourself permission to practice, to mess up, to redo a section three times before it looks right. That’s not failure. That’s literally how everyone, including me, learned to do this.
Start with the three-strand braid. Get comfortable with it. Then work your way through this list at your own pace. Before you know it, you’ll be braiding without even thinking about it, the same way you tie your shoes without consciously counting the steps.
Now go grab a hairbrush and get braiding. Your favorite patient, braid-teaching stylist 🎀